Featured Article Sponsored by Trex RainEscape, Proud Member of NADRA.org
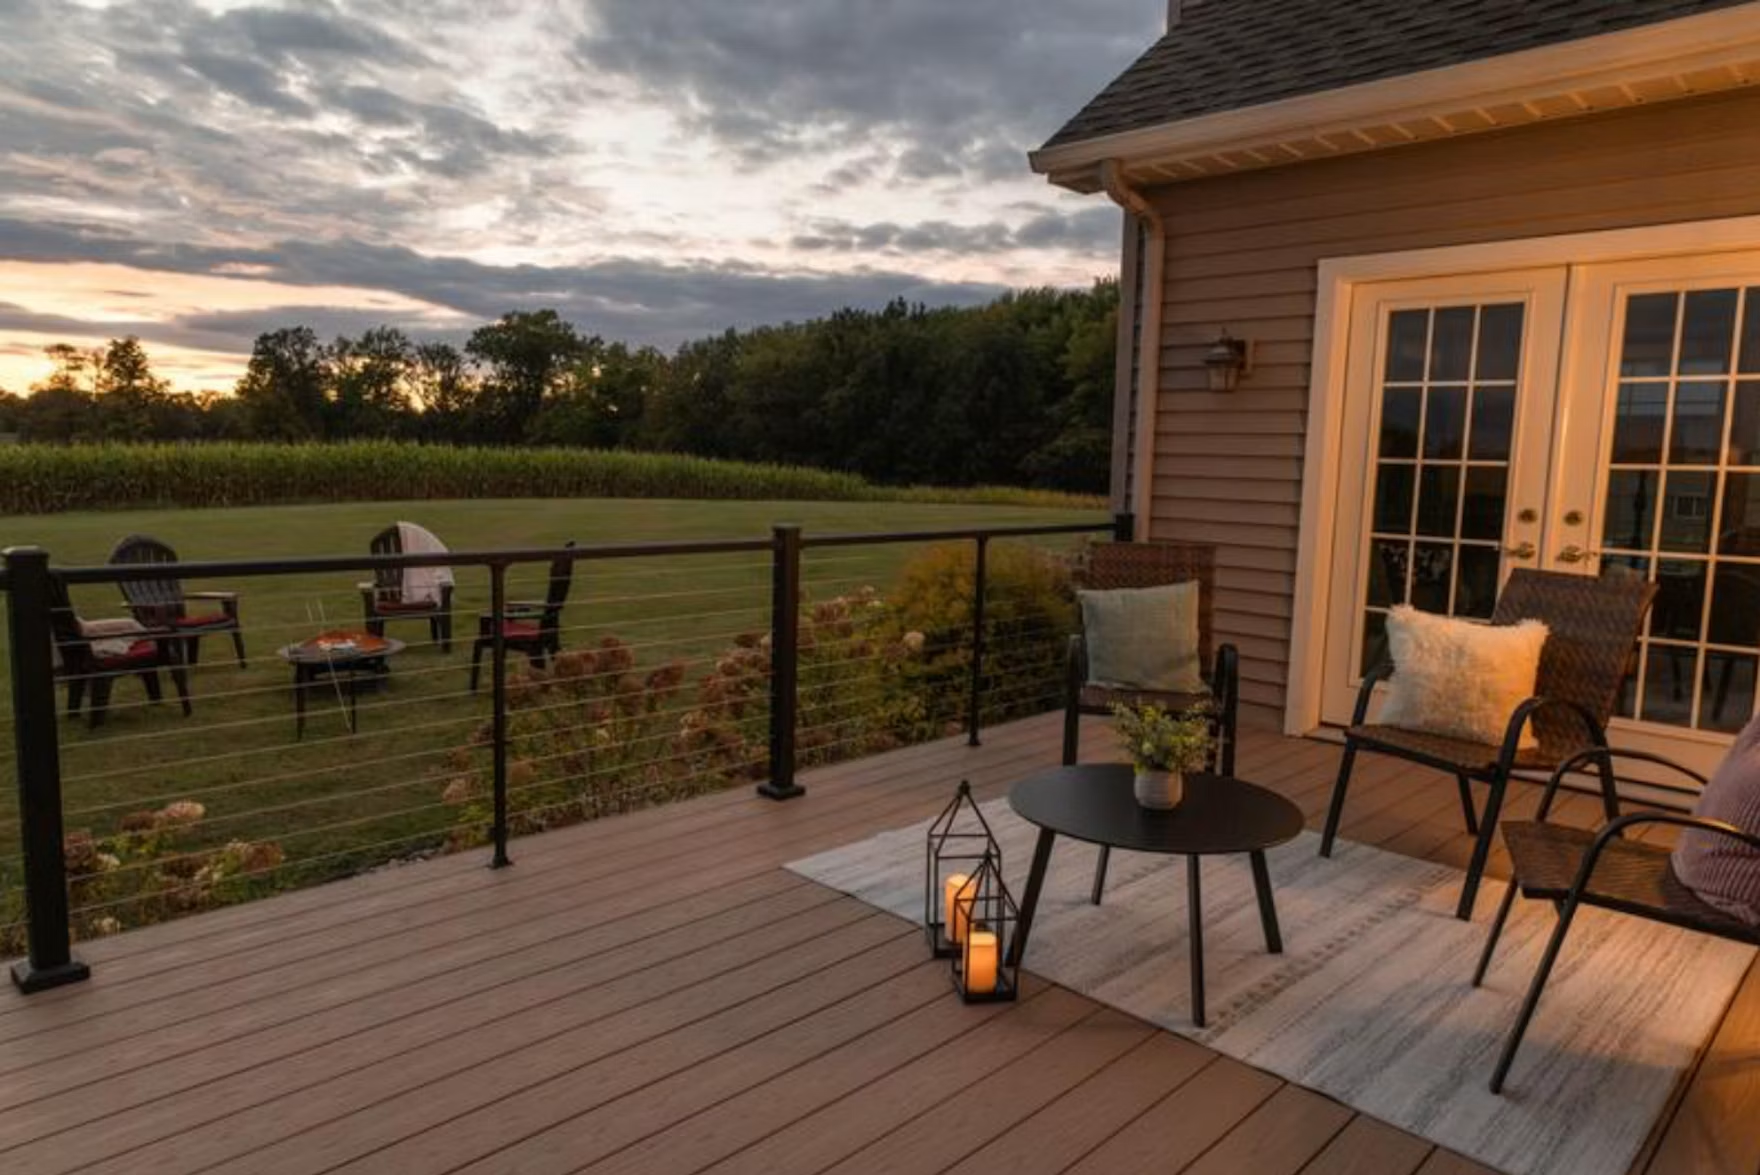
Extending an existing deck is one of the best ways for homeowners to create more outdoor living space without having to start from scratch. A successful deck extension is one that’s seamless and looks like it was always part of the plan.
Deck extensions take thoughtful preparation and diligent execution from contractors. This guide will walk through a step-by-step process for deck expansion, covering each step beginning to end.
Assess the Current Deck
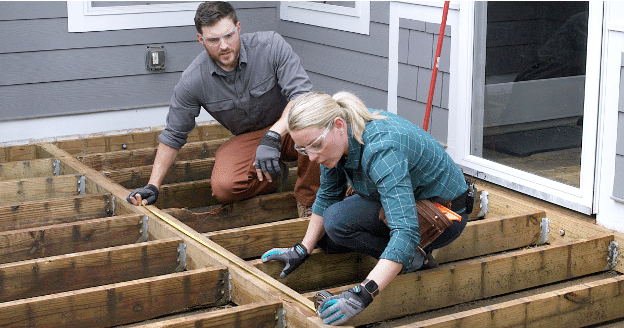
Before planning an extension, evaluate the condition of the deck that’s in place. The goal is to confirm that what’s already in place is strong, level and ready to support any added load.
- Examine the substructure. Look closely at the joists, beams, posts, footings and fasteners for any signs of rot, cracks or corrosion. Weakened framing and connections can compromise both deck sections once they’re joined so it’s important to repair or strengthen anything that needs attention before moving forward with an extension. This may include tasks like tightening loose bolts and replacing corroded fasteners or sistering joists that show signs of sagging. When reinforcing or adding new framing, review beams and ledgers in the International Residential Code for connection and load-bearing requirements.
- Inspect the deck’s surface. If there is damage to the decking boards or surface materials, discuss with the homeowner whether these boards will be replaced during the extension process or will be a separate maintenance project. A deck extension can be a good time to replace older or weathered boards to achieve a uniform look while ensuring consistent performance across the entire surface.
- Measure the current deck. Asses the deck’s size and layout to determine how the new section will fit. Walk the space and consider the natural traffic flow to and from doors and stairs. Flag any obstacles for homeowners that may limit where they can add on. It’s also crucial to note if the framing direction or any elevation changes will bar the new section from aligning cleanly with the old.
Plan the Deck Extension
Any extension should complement the existing structure – not just add to it. To ensure a seamless, effective extension, it’s important to conduct proper planning measures.
- Permits and codes. Even small extensions may require permits so always confirm what is needed before starting a project. Local building codes set the minimum requirements for safety and structural integrity including post depth, railing height and load limits. Getting approval upfront helps avoid costly rework or failed inspections. If there is any uncertainty about structural tie-ins, check in with a local building department.
- Railings and stair access. Think ahead about how the new section will connect to present railings or if new access points will need to be created. Railing placement should be planned early so post spacing and blocking align with the framing and it’s known where stairs will lead.
- Size and layout. Think about how the extra space will be used and sketch a scaled plan. Use a deck planning app to confirm that all furniture will fit while still leaving room for at least a 4-foot walkway between zones. Confirm with the homeowner on the extension’s overall shape and any added structural details like if it will extend straight out or if they’re looking for something more complex like a wrap-around deck or an entirely new level for added dimension.
- Height and direction. Match the existing deck height by measuring from the ground to the top of the decking at multiple points. Once the measurements are confirmed, transfer those dimensions to the new layout. For an elevated or step-down section, plan comfortable risers, about 6-7 inches, and consistent tread depth for safe transition. Based on layout, decide whether the deck boards should be placed in the same direction or in a contrasting pattern for visual interest or to define different zones.
- Use the same framing materials and joist dimensions as the current structure to maintain uniform alignment and strength. For a seamless, unified surface, ensure that all deck boards match. If the goal is to define a new living space without visually overwhelming the original space, choose a new tone or pattern that’s complementary to what’s already incorporated.
Prepare the Site
Once the permits are ready and homeowners and contractors have aligned on the design, it’s time to prepare the area where the extension will go.
- Clear and level the ground. Remove any vegetation or debris from the jobsite, and then grade the area so water drains away from the house.
- Set footings. Use stakes and string lines to outline the shape of the extension and ensure square corners by measuring diagonals – equal diagonals mean the layout is square. Mark post centers where new beams will sit, matching the spacing and alignment of the existing deck so the addition cleanly ties in. Dig and pour new footings or install piers as required, being sure that the depth, size and load-bearing requirements match local codes.
- Plan for water management. Grade soil slightly away from the house so runoff doesn’t collect under the deck. Footings should be set on firm, well-drained soil and add a gravel base where appropriate. If you’re using an under-deck drainage system and adding to a raised deck
 or creating a new elevated level above a ground-level deck, align new components to the same slope and discharge points so water flows to gutters or downspouts without pooling between sections.
 or creating a new elevated level above a ground-level deck, align new components to the same slope and discharge points so water flows to gutters or downspouts without pooling between sections.
Build the Deck Frame
Framing plays a critical role in the strength, stability and longevity of a deck extension.
- Connect to the existing frame. Depending on the design of the deck extension, extend the joists or add new beams and joists alongside the old frame. Use corrosion-resistant connectors and bolts for secure attachment.
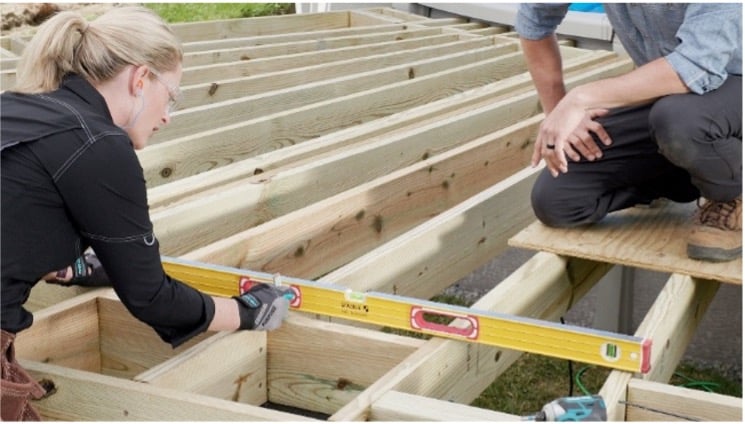
- Level, square and protect the frame. Consistency matters. Double-check with a level and framing square before securing anything permanently. Apply Trex® Protect deck flashing tape to every joist and beam surface to seal fastener holes, prevent moisture intrusion and improve screw holds – helping the frame last for decades.
- Consider drainage integration. For elevated decks, now is a perfect time to install an over-the-joist drainage system like Trex® RainEscape® before the decking goes down. This keeps the joists dry and creates usable space below the deck.
Add Railings and Finishing Touches
Once the structure is finished, details can be added for your extension to look and feel cohesive with the rest of the deck.
- Extend railings. Existing railings can be lengthened to match style and height.
- Add stairs or skirting and trim. To tie the new section into the rest of the deck and yard, stairs should match the style and tread dimensions of the original set for a consistent look and safe transition. Typically, new skirting matches the current design and trim, and other details are
 carried over for continuity.
 carried over for continuity.
- Apply protective finishes. Apply a stain, sealant or any protective finishes to new wood boards to help resist moisture and UV damage. Touch up trim or rail components as needed for a polished final look. This is not necessary for composite materials.
Best Practices for a Seamless Deck Extension
Every deck extension comes with small details that make the difference between a visible add-on and an intentional expansion.
Follow these tips so the finished deck feels like one cohesive space.
- Blend new and old materials. Even with matching materials, sunlight and weathering can create slight color differences; this is most noticeable with natural wood. To minimize it, clean and refinish the older boards before adding new ones. Or let the new section weather a bit then seal both areas at the same time.
- Reinforce connection points. Where old meets new, use extra blocking and hardware to ensure strength and reduce future movement. Blocking – short pieces installed between joists – adds rigidity and prevents twisting. Install it near seams, along the perimeter and anywhere the new framing ties into the old.
- Plan for long-term maintenance. Annual inspections and regular cleaning go a long way in keeping the entire structure solid.
Extending a deck is a smart way to add outdoor space, improve functionality and even boost property value. With a solid plan, compatible materials and thoughtful construction, a new section can blend right in. When guests step onto the deck and can’t tell where the original stops and the addition begins, that’s the sign of a successful job.
To learn more, visit https://trexrainescape.com/